


A fresh-smelling home is inviting, relaxing, and sets the perfect mood. Reed diffusers offer a simple and safe way to infuse your space with pleasant aromas without using electricity or open flames. But why buy expensive store-bought versions when you can easily make your own room diffuser at home?
This guide will show you how to DIY a reed diffuser, whether you’re using fragrance oils or essential oils. You’ll learn how to mix your own scented oil, choose the best materials, and maintain your diffuser for long-lasting results.
What is a Reed Diffuser and How Does It Work?
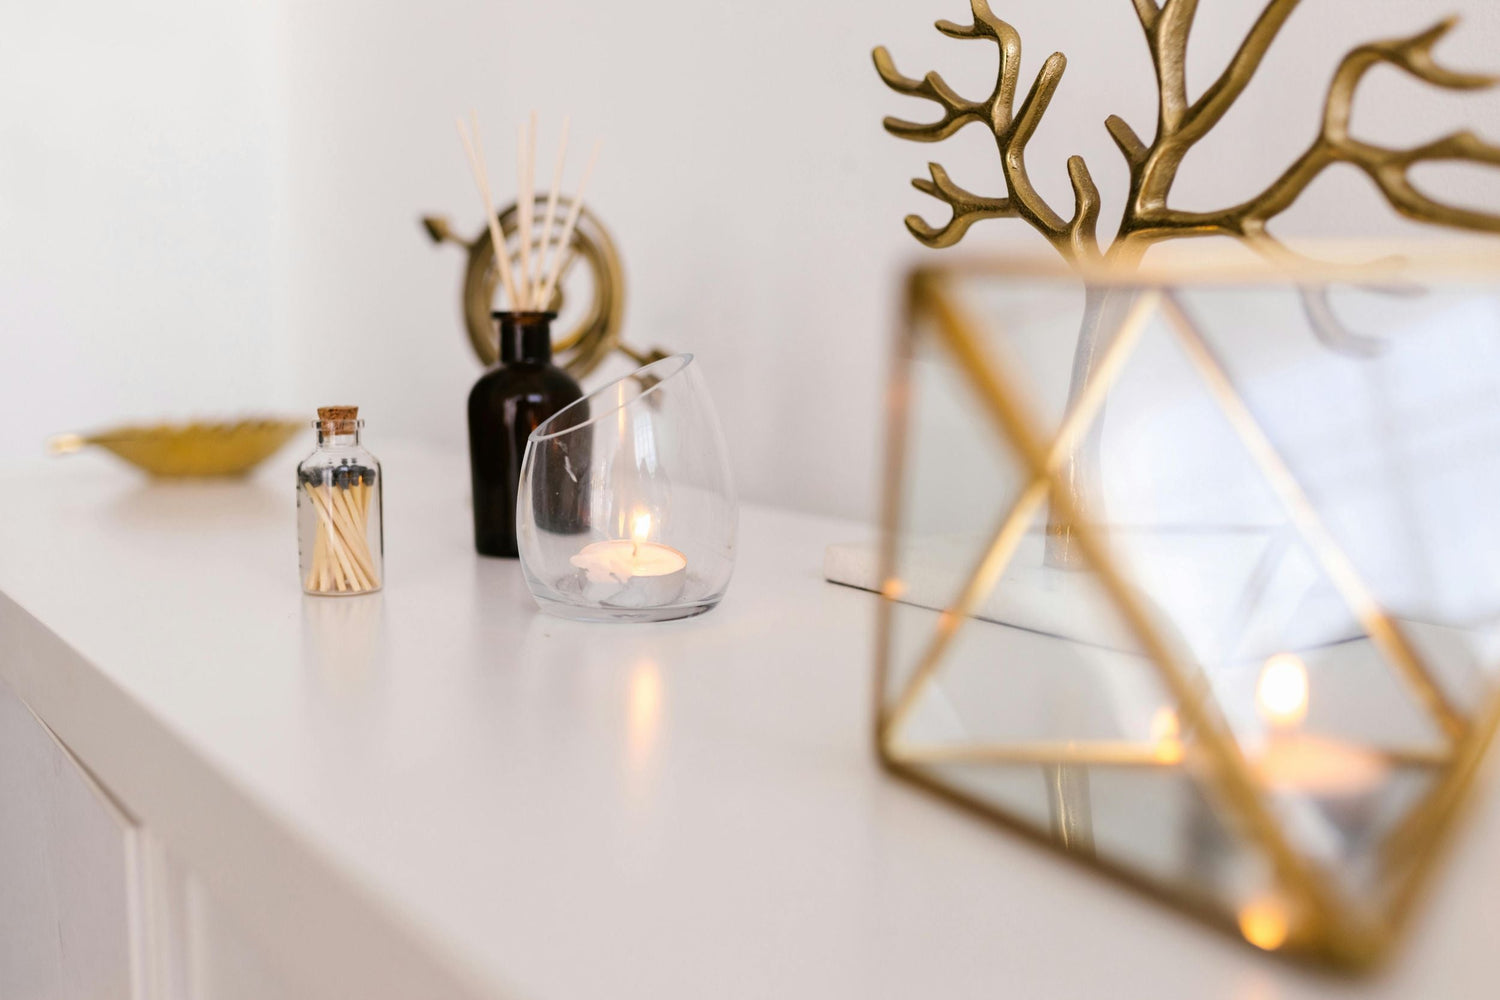
A reed diffuser is a flameless home fragrance solution that disperses scent into the air through natural evaporation. It consists of three main components:
- A glass or ceramic container filled with scented oil.
- Reed sticks that absorb and release the fragrance.
- A fragrance or essential oil blend mixed with a carrier oil.
As the oil moves up through the reeds, it naturally evaporates, gently perfuming the air. Unlike candles, reed diffusers offer continuous fragrance without the need for heat or electricity, making them a safer option for homes with children and pets.
Benefits of Using a DIY Reed Diffuser:
- Safe & flame-free: No fire hazard like candles.
- Long-lasting scent: Diffuses fragrance for weeks.
- Cost-effective: Cheaper than buying commercial diffusers.
- Customizable: You control the ingredients and scent strength.
- Eco-friendly: Reusable bottles and all-natural essential oils available.
Essential Materials to Make a Reed Diffuser
Before we dive into the step-by-step guide on how to make a room diffuser, let’s go over the materials you’ll need.
1. Choosing the Right Container
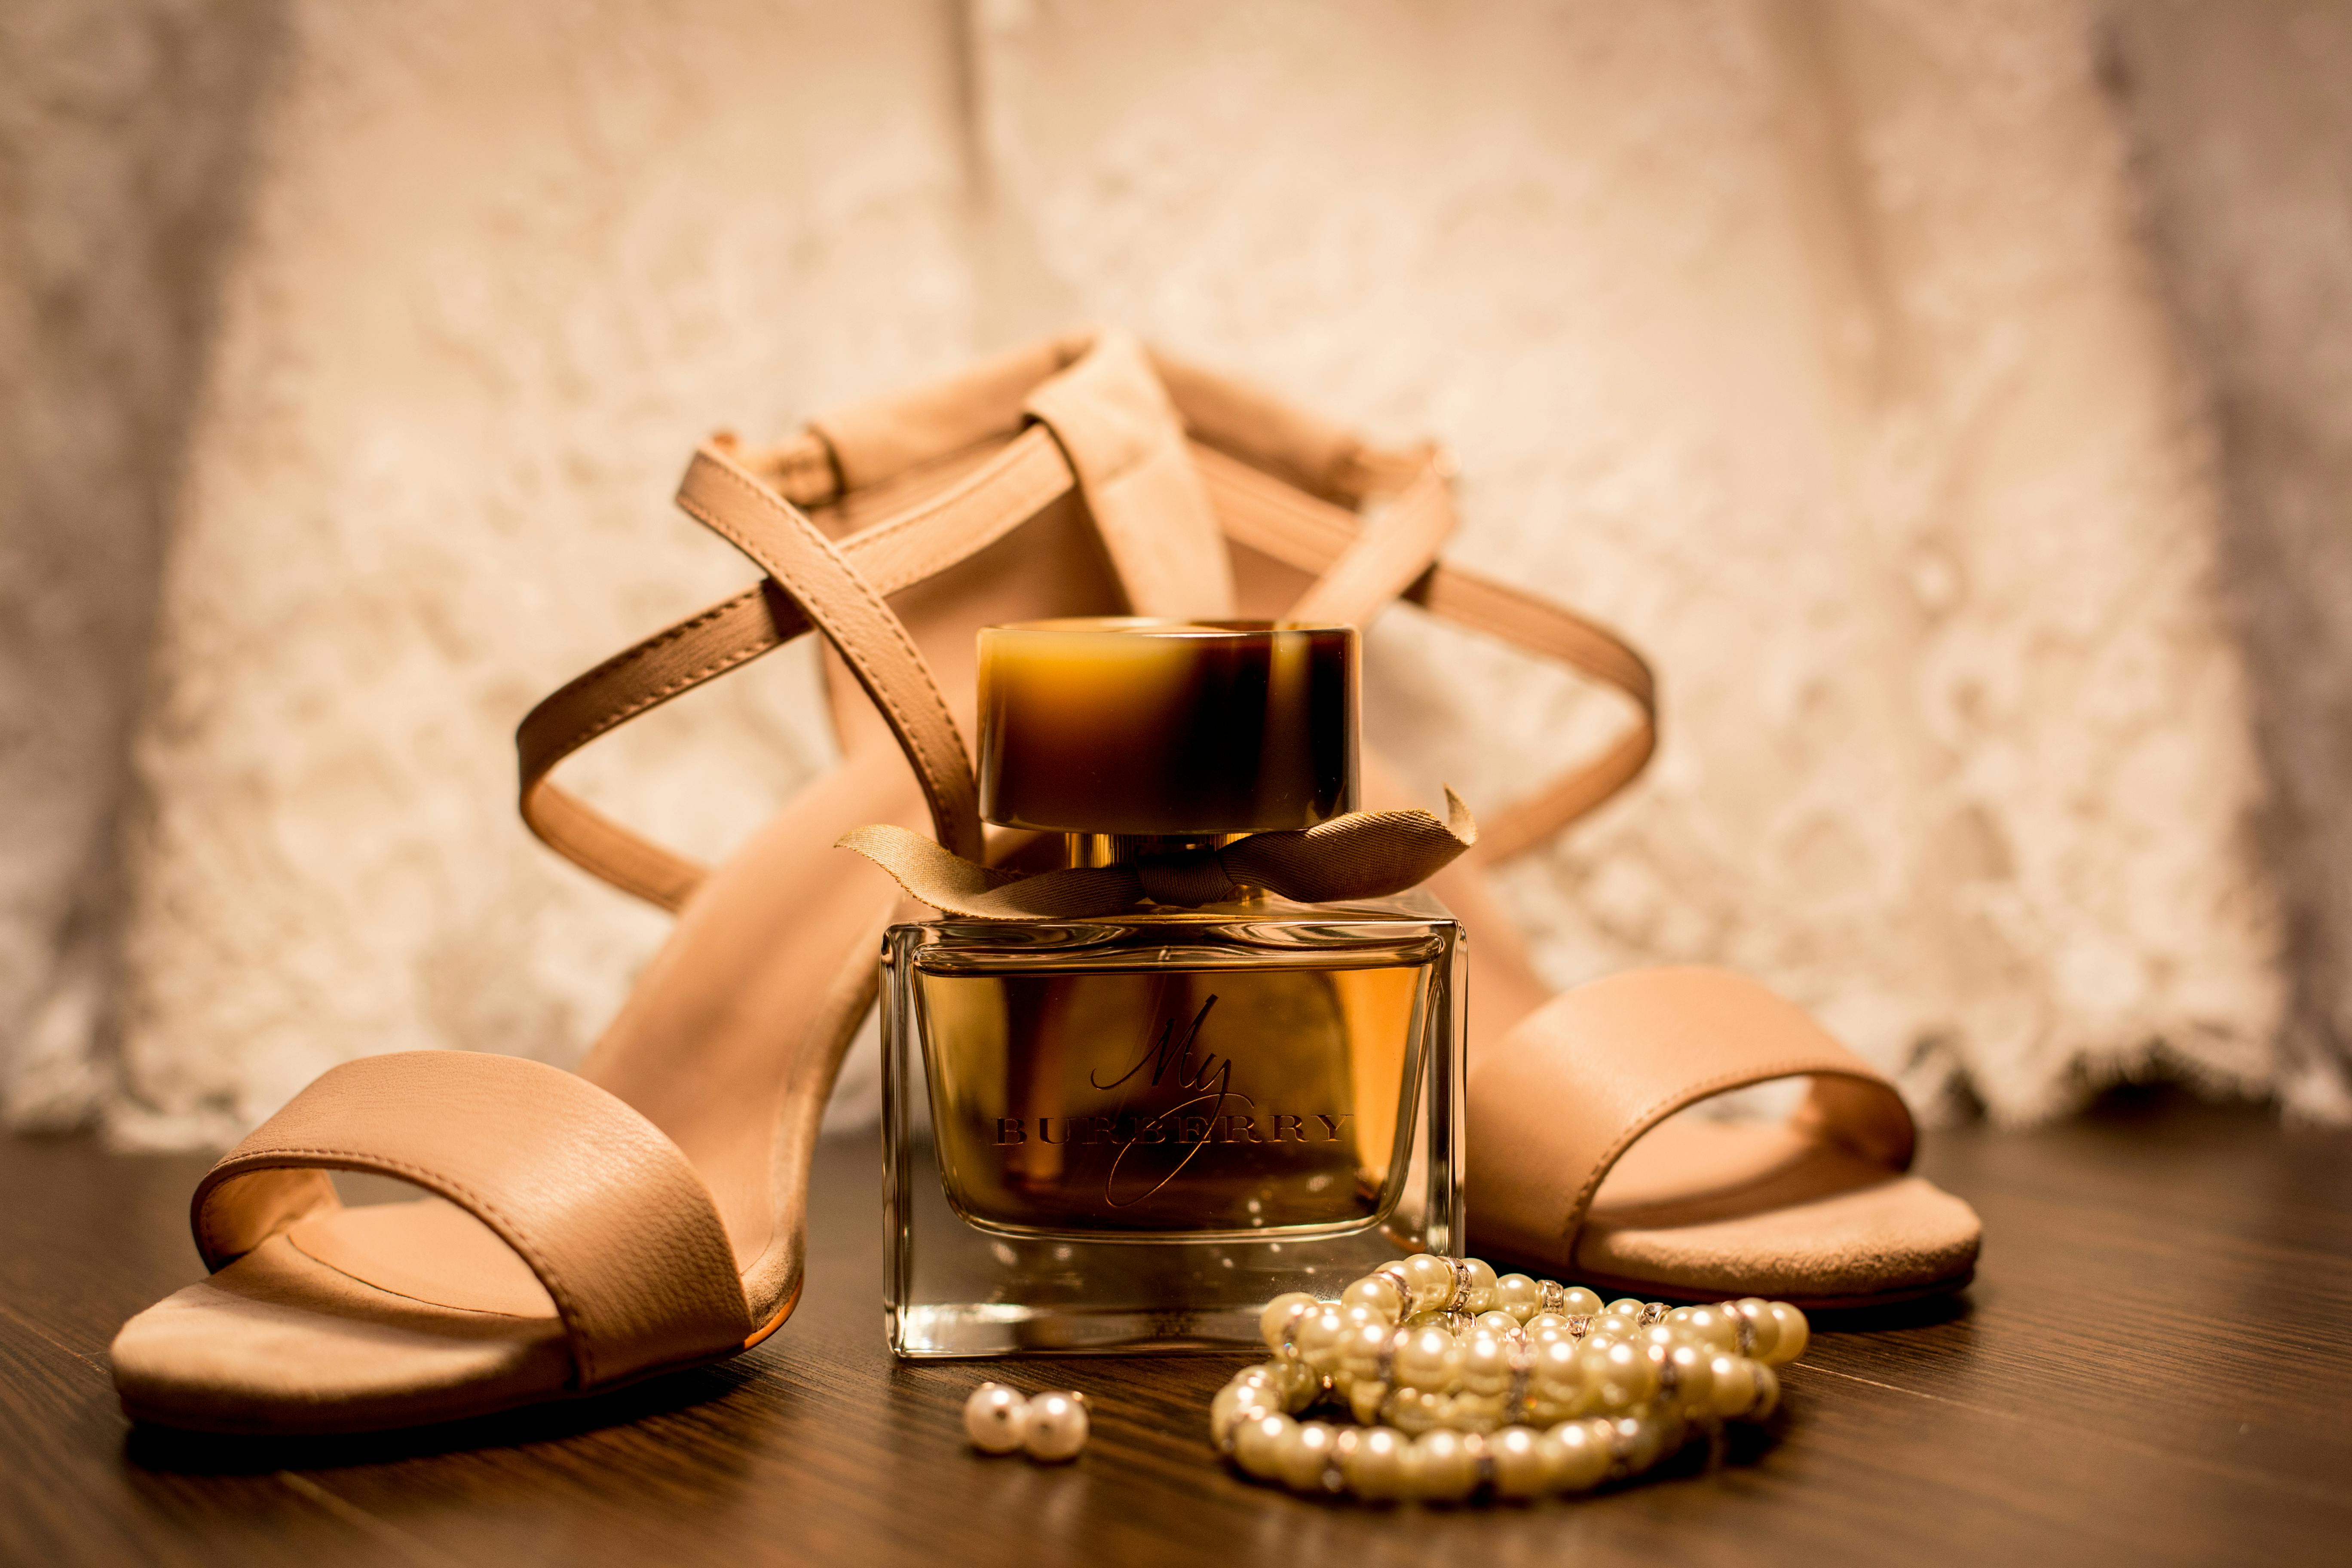
The container plays a crucial role in how well your diffuser works. Select a glass, ceramic, or porcelain bottle with a narrow neck to slow down evaporation and extend the diffuser’s lifespan. Avoid plastic containers, as essential oils can degrade them over time.
Best choices:
- Small glass vases
- Narrow-neck bottles (like old perfume or diffuser bottles)
- Ceramic jars for a stylish touch
2. Selecting the Right Reeds
The reeds act as scent wicks, drawing the oil from the bottle and diffusing it into the air.
Best options:
- Rattan reeds – Ideal for diffusing fragrance effectively.
- Bamboo skewers – A DIY alternative, though less effective than rattan.
Tip: Avoid using paper straws or synthetic reeds, as they won’t absorb the oil properly.
3. Choosing the Right Carrier Oil
The carrier oil is the base of your reed diffuser. It should be light, odorless, and thin enough to travel up the reeds easily.
Best options:
- Fractionated coconut oil – Light and neutral scent.
- Sweet almond oil – Affordable and easily absorbed.
- Safflower oil – A great budget-friendly option.
Avoid using thick oils like olive oil, as they can clog the reeds.
4. Choosing Your Fragrance
There are two main options:
✔️ Fragrance oils: These are synthetic scents specifically designed for diffusers. They provide a stronger, longer-lasting fragrance.
✔️ Essential oils: Natural plant-based oils that provide both fragrance and aromatherapy benefits.
How to Make a Reed Diffuser with Fragrance Oil
Fragrance oils are ideal for those who want a stronger, longer-lasting scent.
Step 1: Prepare Your Base Mixture
- Pour ¼ cup of carrier oil into your container.
- Add 2 tablespoons of fragrance oil.
- Stir in 1 teaspoon of vodka or rubbing alcohol to help thin the oil.
Step 2: Insert the Reeds
Place 5-7 reeds into the container and let them soak for 1-2 hours. Then, flip the reeds to help distribute the fragrance evenly.
Step 3: Maintain Your Diffuser
- Flip the reeds every few days for a fresh scent.
- Replace the oil mixture every 4-6 weeks.
How to Make a Reed Diffuser with Essential Oils
Essential oils provide a natural, non-toxic alternative with added health benefits.

Step 1: Prepare Your Essential Oil Blend
- Pour ¼ cup of carrier oil into your container.
- Add 30-40 drops of essential oils.
- Stir in 1 teaspoon of vodka to help with diffusion.
Step 2: Insert and Flip the Reeds
Place 5-7 reeds into the mixture and let them absorb the oil for 1-2 hours. Flip them for better scent distribution.
Step 3: Customize Your Scent Blend
Wondering how to mix essential oils for a reed diffuser? Try these combinations:
🔹 Relaxing Blend: Lavender + Chamomile + Vanilla
🔹 Fresh & Clean: Lemon + Peppermint + Tea Tree
🔹 Cozy & Warm: Cinnamon + Orange + Clove
🔹 Floral & Sweet: Rose + Jasmine + Ylang-Ylang
Step 4: Maintain Your Diffuser
- Flip the reeds every 3-4 days to refresh the scent.
- Replace the oil every 4 weeks to prevent buildup.
How to Make Your Room Diffuser Last Longer
Here are some pro tips to ensure your DIY diffuser stays effective:
✔️ Use high-quality oils – Cheap oils evaporate quickly.
✔️ Flip the reeds regularly – Helps refresh the fragrance.
✔️ Avoid direct sunlight – Heat accelerates evaporation.
✔️ Use a narrow-neck bottle – Slows down evaporation.
Final Thoughts
Making your own DIY reed diffuser is simple, affordable, and allows you to customize your home fragrance experience. Whether you choose fragrance oils for a strong scent or essential oils for a natural touch, a homemade diffuser is an elegant and practical way to keep your space smelling fresh.
For those looking for premium fragrance oils, check out parfum.ae for high-quality options that will elevate your DIY diffuser experience.
Now that you know how to make a home fragrance diffuser, why not create your own and enjoy a beautifully scented home every day?


